AP CSA

After 20 years in education at my local elementary school, I have a new position in the fall at my local high school. I will be their Digital Learning Specialist (Tech Integrator) and CS teacher. It is really a dream job for me. I get to help teachers with their technology (my “superpower”) and teach kids computer science (my “passion”). I’m so excited for the fall.

I’ll be teaching two CS classes in the fall- Computer Science Principles and AP Computer Science A, and I’m using code.org‘s curriculum for both. Last year I assisted in teaching AP CS Principles and it was the first time AP CS Principles had been taught at the school. I made room in my schedule to be in their class every Thursday (plus any other special activity day as my elementary schedule allowed). It surprised me how much I enjoyed working with the high school students (half of whom I taught coding to in elementary school).

In preparation to teach code.org’s AP CSA curriculum, I spent a week in Maine at an EducateMaine-sponsored 5-day workshop. It was excellent. It was intense. I’ve just returned from it and while I’m tired, I’m still really excited about getting into the classroom and presenting the content to the kids. During the week I met other high school CS teachers and built a new personal learning community network.

The code.org’s AP CSA curriculum is new this year. Our workshop facilitators piloted the program last year and this summer is the first time code.org teacher training workshops are being offered. At my school, most of the students who were with me in CS Principles will be taking AP CSA, so while I was at the workshop I could envision pain points in the lessons based on my knowledge of those students.

There is a lot of vocabulary in AP CSA. At one point halfway through the workshop we played vocabulary Bingo from the vocabulary list of the first two Units alone and it was a struggle. Of course, we’d had 3 days with the terms. The students will have more time and practice with them through the course. It is good to know this before the year starts so I can plan vocab review activities and encourage the students to keep a journal or binder for vocab. I’ve already asked one student her best strategy for learning vocab and this was her reply:

I think it would be best if all students have some sort of notebook/ composition book where they write in all the vocabulary as it comes up in one section then when they move to a unit start another page and label it. In this way they can customize what they write about each thing such as adding examples or an analogy when helpful. Then at the end of the unit go through all the vocabulary and make sure we have each and every term.

AP CSP student going into AP CSA

The other CS teachers in my CSA cohort noticed the vocab-heavy curriculum, too. One created and shared with us the Unit vocab lists in GimKit. I hadn’t heard of this tech tool and we got a chance to play a quick round of virtual Capture the Flag. I think the students are going to like this vocab practice tool!
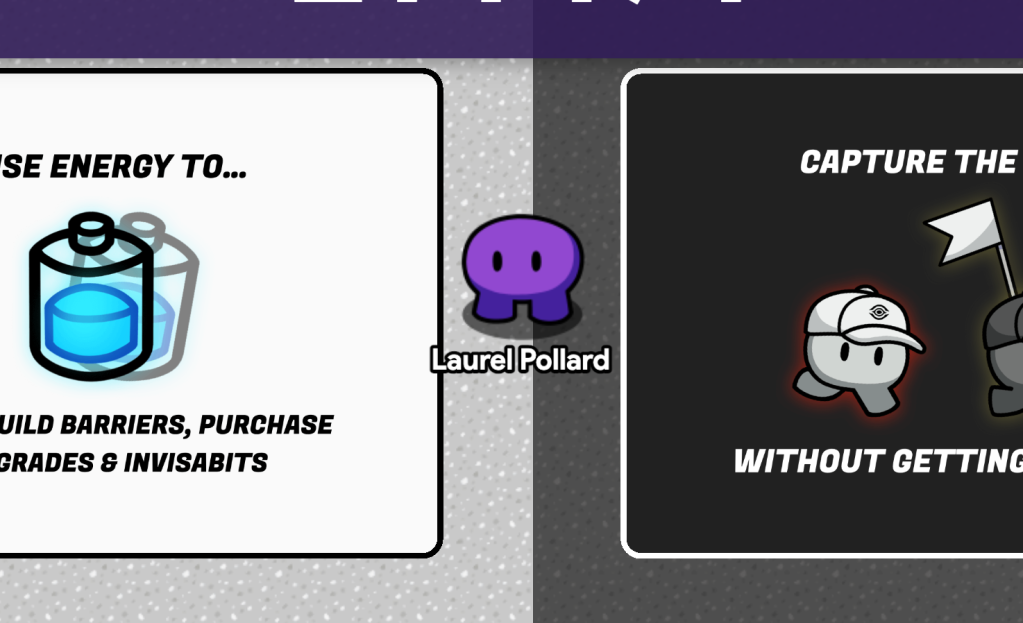
Me in a GimKit of Capture the Flag

I learned that the AP CSA test consists of multiple-choice questions (50%) and free-response questions FRQs (50%). The code.org curriculum introduces, scaffolds, and provides a lot of practice with FRQs. The AP test is all paper and pencil so the students will need to practice handwriting Java code, reading Java code, etc.

I’ve still got some more to learn and prepare for the start of school, but I feel I’m in a good place and have the support I need (or know where to find it) for AP CSA. Hopefully, this feeling lasts through to August.
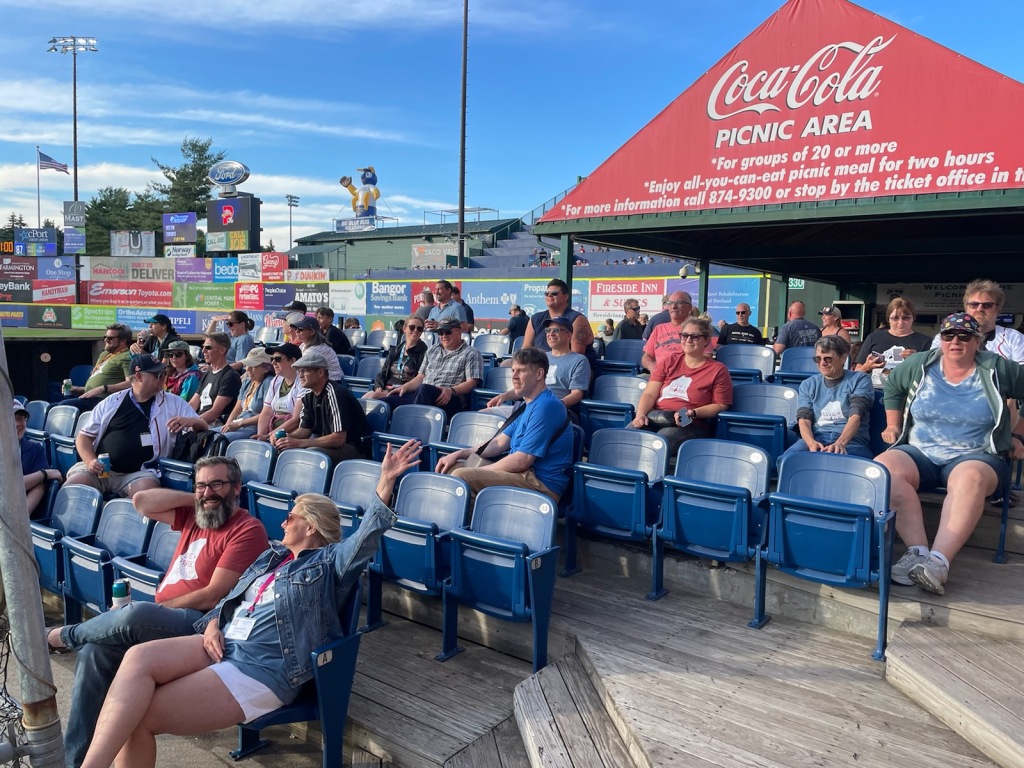
CS Teachers at the Portland SeaDogs vs NH Fisher Cats Minor league baseball game. Photo by Angela Oechslie.

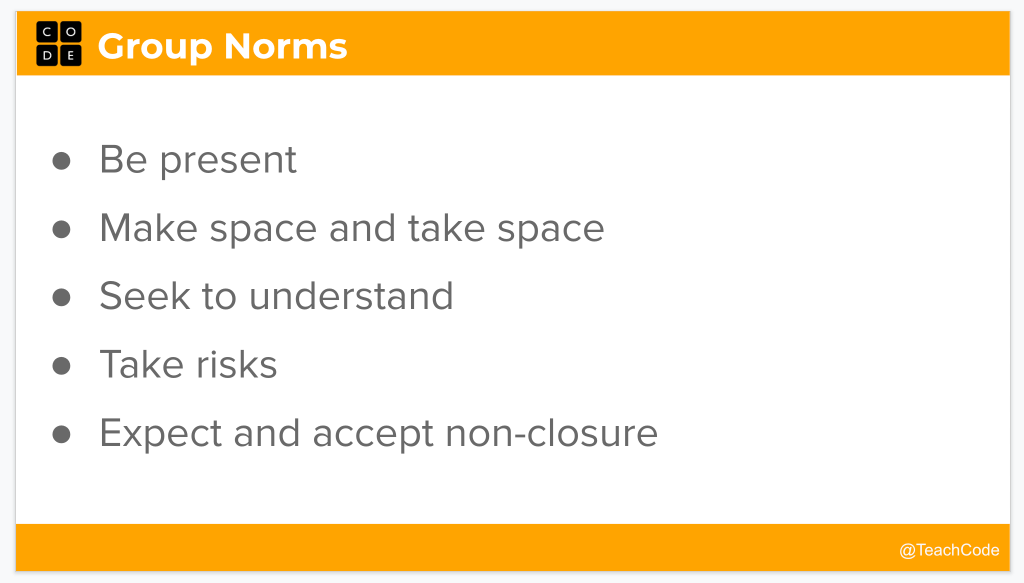
Do you want to know more? Well, I had to learn to accept non-closure at this CS Summer Institute, too.
International Code Club

This summer I’ve been hosting a weekly virtual code club for middle school students (ages 9-12) through my local library. It started slow at the beginning with one or less students each week. But over the weeks it has grown and now we are up to four or five!! It doesn’t sound like very much, but from talking to Christina from Code Club, that’s not unusual size for virtual code clubs.

I’ve been enjoying setting up the Scratch lessons each week. They included these topics:

Animation

Imaginary Sports – a Scratch Design Studio prompt for June

Music and Sound

Text-to-Speech & Translate

Examples from our studio https://scratch.mit.edu/studios/27193347/

Catch Game

Space Invaders

Pen blocks & Stamps

We have two more weeks where we will make a “How to” Scratch project and end with a “Surprise” project -using a prompt from Getting Unstuck 2020.

Each week I create a Scratch studio with some sample projects and a sharable document with some code tips or project instructions (or links to online project instructions), and I include the link to our weekly studio and virtual meeting. Students are invited to the weekly studio to remix what’s there and then share and add their project to the studio. I started out adding them as curators, but it was easier to temporarily open the studio to allow anyone to add projects and then turn off that option later.

Despite the low numbers, the meeting were successful in that those who showed up learned and created projects they were proud of. I’m proud of them, too. I like to spend the last 10 minutes letting the student share their screen to demo their projects – or let me play their projects if they’re shy. Later I will go and view any more projects that get added or shared to play, favorite, and comment on them.

This last week we found out that two of our participants actually live in Canada when one asked if we all were from her province. That’s the thing with online clubs, there’s no physical boundaries. I had to say, no, some of us were in New Hampshire. It didn’t seem to matter to her. Or any of us. We were having a good time coding and hanging out together.

I’m not sure how my club happened to get some Canadian middle school Scratchers. The library posts the offering on their website and parents can email to sign up. I always have a librarian as a co-host and second adult, as recommended by the Raspberry Pi Foundation (Code Club’s parents organization). She is the one to forward the meeting link and shared document to those who’ve signed up. Our meeting link is not on the website.

A couple of weeks ago I was commenting on one of my participant’s own Story studio to ask her if I could share her studio with the Creative Coders. Another Scratcher commented back and asked if they could join the club. I posted the library sign up link there in the comments. I wonder if they followed through? The librarian noted once, earlier in the summer, that one of the parents asked what time zone the meeting was in. So, I guess, that makes my code club an International Code Club. Pretty exciting!

I’ve learned a lot this summer, too. I’m more comfortable with the online format. I’m getting used to the awkwardness of everyone quietly coding for a half hour with very little questions. I’m quicker at navigating around and finding students recently shared projects. I’m learning what type of projects work in this remote setting.

If you want to know more about the project documents I share with the students, here’s an example (without the meeting link).

3d Printing Club

I have wanted to run a 3d printing club for middle schoolers for a while now (since I discovered BeetleBlocks).  I specifically wanted to have a 3d printing club where we focused on jewelry making in hopes of getting MS girls interested in STEM. I have a 3d printing business and sell my 3d printed jewelry on Etsy and at the Lebanon Farmer’s Market. I see many of my students at the market and know that 3d printing jewelry might be the hook to get more girls interested in 3d printing.

Screen Shot 2019-07-17 at 9.10.43 AM

My earring design ready for sale – a shared project on BeetleBlocks

Yesterday my dream of having a 3d printing club became a reality at the Lebanon Public library and with the collaboration of two librarians. We were able to borrow two 3d printers from libraries around New Hampshire and schedule a couple of summer sessions.  We met a week prior to the first session, when we had the printers, to make sure we could run them and change the filaments, etc.  We have an Ultimaker 2 Go and a MakerBot Replicator.  This is a bit complicated as they take different size filaments and use different programs to prepare the models.  We have some jewelry findings and different color filaments – silver, gold, bronze in 1.75 mm for the MakerBot and blue in 3 mm for the Ultimaker.

We were hoping to get 3 printers and have 3 students per printer for a group of 9, but only 5 had signed up so we opted to go with just 2 printers as the third was at a library on the other side of the state.  When I got there on Monday, there were 9 students.  The librarians had decided to let the drop-in students stay and I was fine with that.

Screen Shot 2019-07-17 at 9.14.52 AM

My notes for my intro to the 3d design & printing process.

After a brief introduction where I wanted to make sure that they understood 3d printing was an iterative process not unlike the engineering design process, I showed them a jar full of bad prints from my jewelry printing business.  Then we got started.

Screen Shot 2019-07-17 at 9.09.47 AM

For the first of the two sessions, I introduced BeetleBlocks and we created simple rings by measuring and using a tube shape (Here’s my video tutorial). In just three lines of code, the rings were created and we were able to have them export and save to a flash drive/sd card.  We loaded half onto one printer and half onto the other and started printing them. Rings take about 5-9 minutes each.  The goal was to have something to take home by the end of the session. Then during the week they could drop in and print another, bigger, individual print like a pendant or a pair of earrings, etc.. The librarians had a list of times when they would be available during the week to help the students print another ring or a pendant.  I thought this would alleviate the problem of having enough class time to get everything printed.

I created a second video tutorial on how to code a pendant or earring from a squiggle. There wasn’t time to go over the whole tutorial during the session and anyway students were busy exploring BeetleBlocks: adding their names to the rings, looking at community projects, playing with extrusions and other shapes. While some just wanted to watch the printers for a while.

Screen Shot 2019-07-17 at 9.09.02 AM

Extrusion pendant by a middle school coder

Next week we are going to explore TinkerCAD as another application that I know that makes it easy to create 3d designs.

Summertime MakeyMakey

Last Tuesday was the fourth and final session of the summer Creative Coding Club at the public library.  It was MakeyMakey time.

The library now has four MakeyMakey devices available to check out! Combined with the eight I borrowed from my school, we had enough for each person to have their own. The library also has Colleen and Aaron Graves’ book 20 Makey Makey Projects for the Evil Genius. I spent some time looking through it ahead of time and ended up building the marble maze project. It had just the right “difficulty to fun” ratio for me.

20180731_103216

I also gathered some supplies, built a couple of pressure switches, and made conductive playdough (I made a gluten-free version with chickpea flour and the kids thought it smelled odd).  I put a few example projects into our Summer #4 Scratch class studio.

Screen Shot 2018-08-07 at 10.37.51 PM

Starter MakeyMakey projects

At the library, we had a fully stocked supply table, thanks to Kathy, and I set up a homemade dance mat (foil and cardboard), the marble maze, and a playdough button piano as examples.

I often find it difficult to introduce and explain what a MakeyMakey device does in a clear, efficient way.  It is much easier to show the MakeyMakeys in action then let the students explore. Three of the students had used MakeyMakey devices before (at our session in May) so they helped me explain to the others.  I did try to hit the key concepts about making a complete circuit or connecting yourself to earth and what to code to get a response.

The best thing about this session was that we had the gift of time.  Extra time to play and explore.  We were just doing this one open-ended thing – playing with MakeyMakey devices and Scratch. The whole time. 90 minutes. It was lovely. We were on Summertime, where you could dive into a project and not worry about constantly moving on to the next thing.

One student had a banana, a potato, a cucumber, and a ball of playdough connected to her music project. Another student made playdough buttons to play his Moonhack project from the previous session.  Another made a 2-player rocket race game.

At one point I walked by two of the girls and they both just had the biggest grins on their faces while playing banana pianos and adjusting their code.

20180731_163829

Staying connected to earth was tricky. I made a playdough ring for my finger but that didn’t work as well as I’d hoped. Other students had other ideas.

One student, near the end, told me he failed. He’s my big idea kid, always exploring the boundaries and testing even bigger ideas. A simple banana piano? Forget it. He thinks up complex ideas and tries them out. He and I both weren’t phased by his declaration, and I didn’t try to help him “be successful”. I just nodded and sat with him for a second in case he wanted to explain where he had failed but he just went on to try some other idea.

My one takeaway on this session was how lovely it was to have time to explore and not hurry off to something else. I enjoyed this slower paced session and they did, too. I have to remember not to over schedule our time and stop worrying about them running out of things to do.

We did stop to share and admire what everyone was doing and then the pizza arrived! Great way to end.

I hope some of these Scratchers check out one of the library’s MakeyMakeys and spend more time exploring the possibilities.

Summer Creative Coding Club

This July I’ve been leading a 4-week coding club at the public library for middle school age students.  It is a 1.5-hour session for up to 12 students. Kathy, the children’s librarian, is my co-leader. She sets up the library space, takes care of the sign-up list, and prints project resources we use, in addition to supporting the students during the sessions.  We worked together during the school year, co-leading Creative Coding Club, which met once a month, and because of its success, we are planning to offer it again this fall.

OLYMPUS DIGITAL CAMERA

We have this great space at the public library (although the projector doesn’t have the greatest quality display).

In early June we decided which projects to present during the 4 summer sessions:

1) RockBand/Pong  (both good intro to Scratch or refresher projects)
2) Chatbot  (one of my favorites. We have done this one before but it is very open-ended and worth repeating)
3) Flappy Parrot (a favorite of my 4th-grade code club and one I haven’t done in the library setting)
4) Makey-Makey (piano and cardboard- a great way to end)

Session #1

About a week before our first session World Cup soccer was making news headlines which got me thinking about all the sports-themed Scratch projects my students have made. So I went looking and found a Code Club resource with a soccer theme which Kathy printed. (our Creative Coders is a registered Code Club).  Kathy also had the Scratch Music cards available as well.

I created a class studio Summer #1 and added a remix of the Code Club resources for Beat the Goalie.  It has the assets (Sprites and background) ready to add code blocks following the guide.  I wanted to add an example of a music project, too, so I made this one and coded up the baseball theme “Charge”.

Screen Shot 2018-07-22 at 10.00.09 AM

My example music project

I liked the idea of giving the students two options each week. We have both returning Creative Coders and new-to-Scratch coders (plus a long wait list) for our sessions. To start with two projects of varying complexity will provide students with choice.  We hoped this would promote more creativity in their projects.  Plus, the session is longer and there could be time to try both.

For a first meet up, things went well.  There are always technical challenges just getting students on the library Chromebooks and into the Scratch class accounts.  It was also a challenge at the end to get them to stop and share their projects with everyone.  But overall they were engaged, creative and supportive of each other.

Screen Shot 2018-07-22 at 10.24.24 AM

The studio filled up with an even mix of music and soccer projects.  Since it was a bit chaotic at the end during the time we wanted everyone to check out each other’s projects, I took some time at the beginning of the session #2 to share the projects from session #1. They seem to enjoy seeing their project displayed on the screen (and me struggle to play their game).

Session #2 

Along with Chatbot, I introduced the Pen blocks and added a couple of examples from Scratch Started Project resources in the Summer #2 studio – this gave them a second choice of projects, which worked well during session #1.

Screen Shot 2018-07-22 at 10.43.02 AM.pngStudents are starting to take advantage of the class session studio to look at the examples, remix the resource projects and share their final projects for the group. I finally feel like I am putting some of the features of the Scratch teacher/class account to good use.  Both projects were hits with the students.  Kathy noted it was exciting to see them working so intently on their projects and then be so proud of what they created!  It is why I keep doing this.

Session #3

Coming up! I received a ‘final notice’ email (and saw on Twitter) about Code Club’s Moonhack 2018 project, so I’ve added it as our second option for session #3, although we’ll be coding a few days after the anniversary event.  This will be a new project for me, so it should be fun.