Code Club Showcase Like no Other

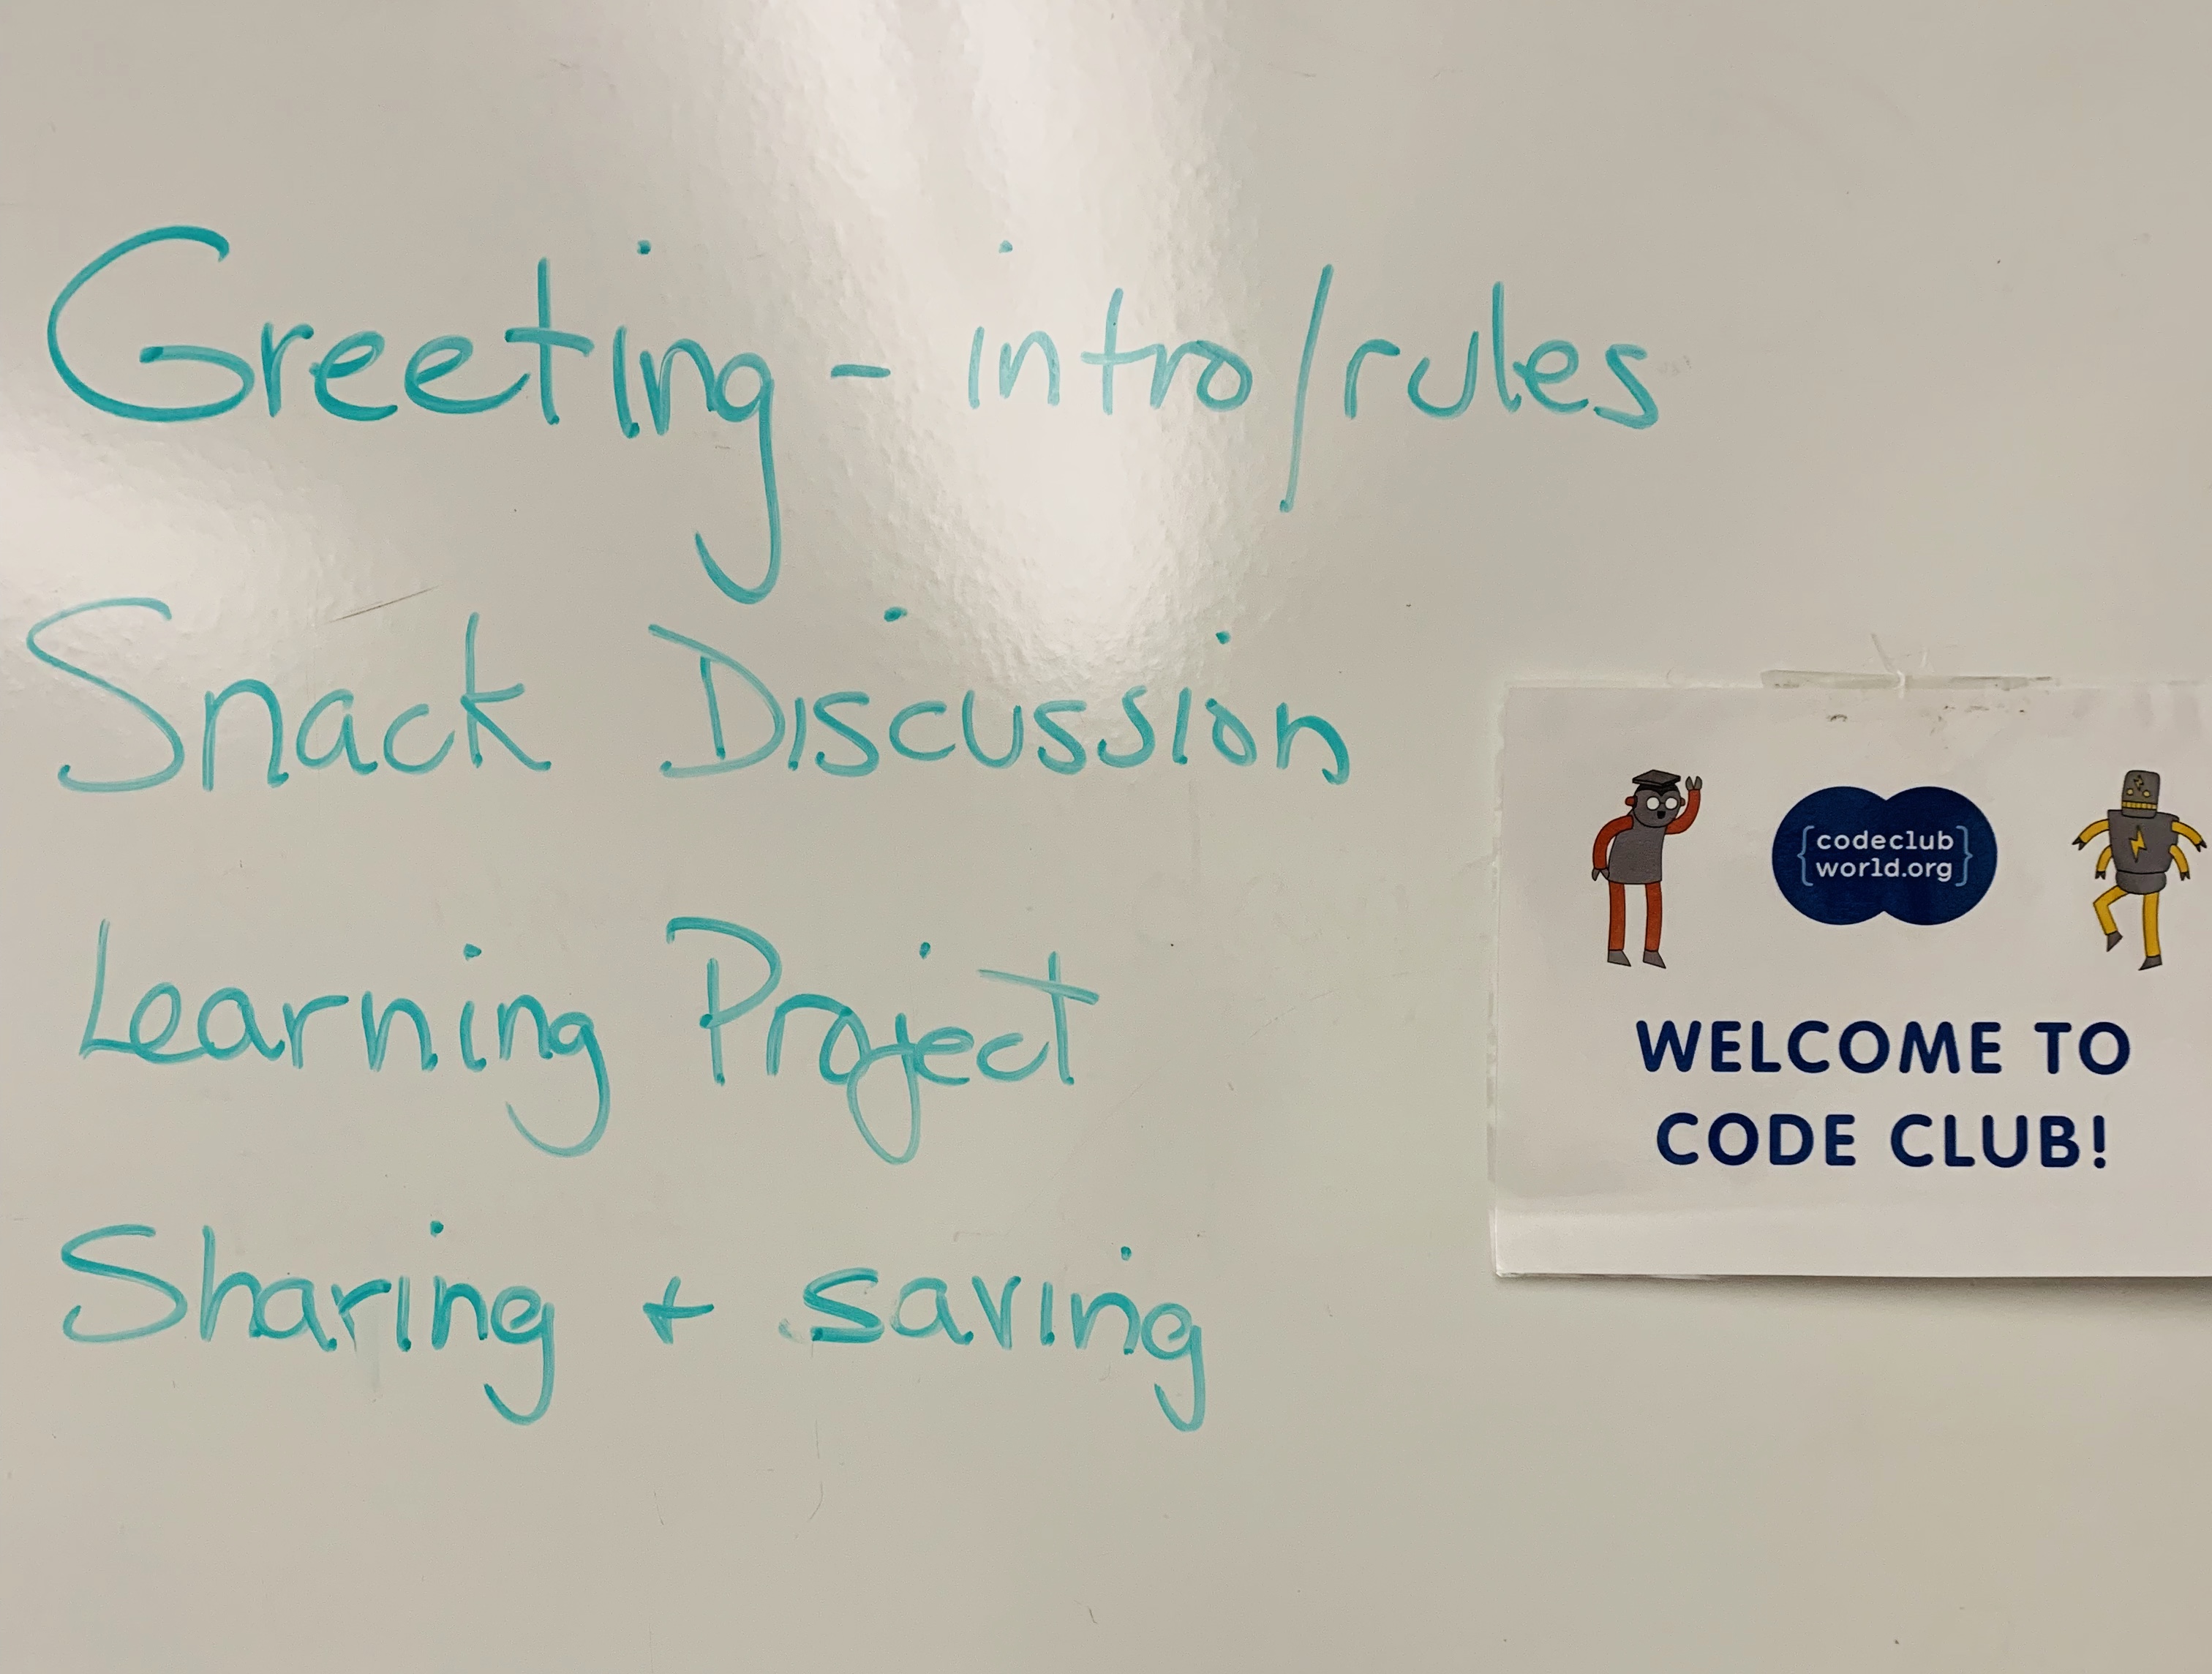
I just celebrated my 12th Code Club Showcase, virtually. Last year’s Code Club went virtual after three weeks due to the Pandemic and our school switching to remote learning. There was no Showcase because what the students needed at the time was a fun weekly code break and not another virtual project to work on. We were all overwhelmed.

This year, while we are now back to full-time, in-school learning, code club had to be held remotely due to school protocols. Students were more amenable to this set up this year and we reached our max during sign-up and had about a 60% retention from week to week. That meant at least 10 coders online for one hour each week.

Luckily, I was able to send home printouts of our Code Club learning projects for the students to work from. Those school Chromebooks have really small screens. I don’t like to code using them and I wouldn’t want to have to split my screen to see the learning project and Scratch at the same time. I sent home a variety of project resources, more than we had time to work through, in case the students were interested in learning on their own.

Virtual Code Club Chatbot projects

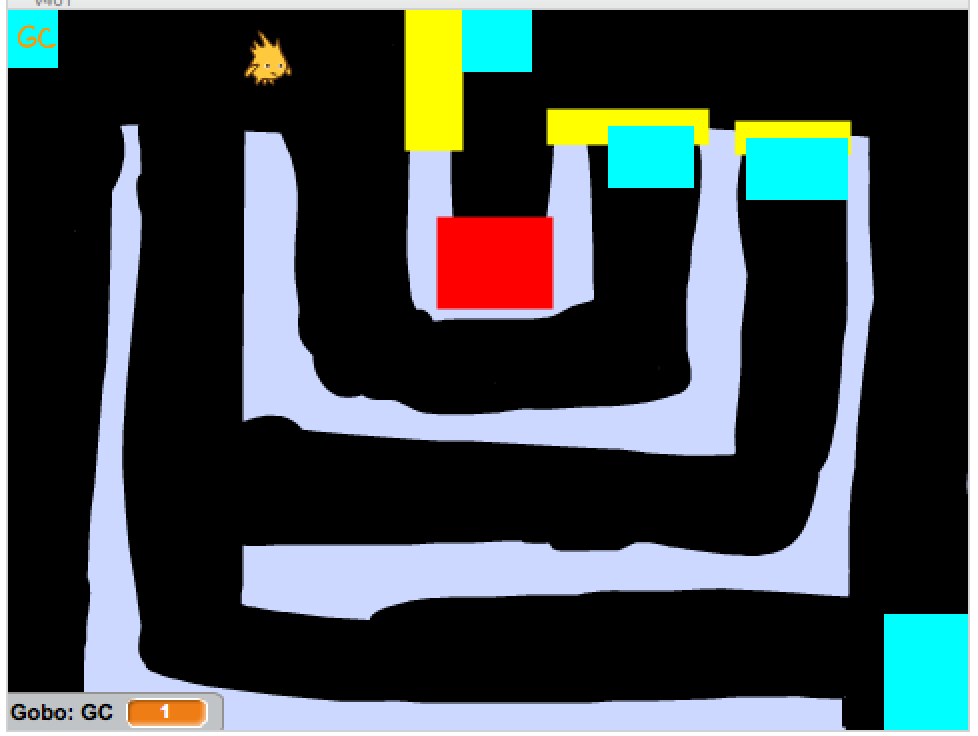
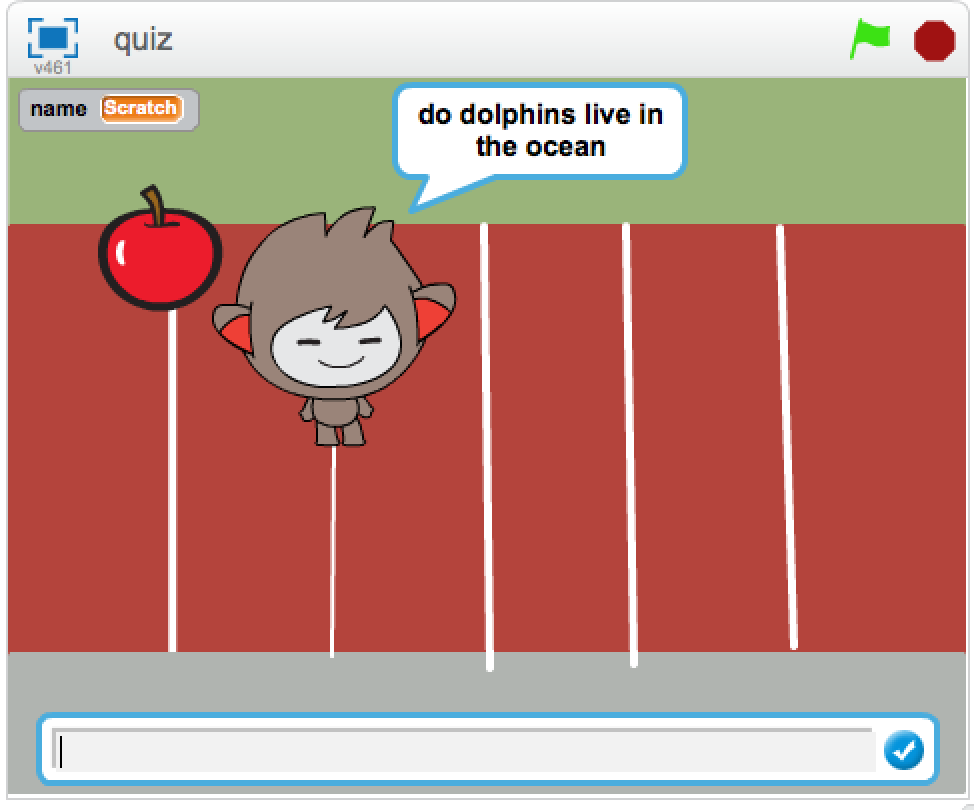
From Code Club I use the projects Felix and Herbert, Chatbot, Balloons, Scratch Cat Goes Skiing and Create your own world. I also used the Scratch cards for Make it Fly and virtual pet. This is a mixture of my standard learning projects (like Chatbot and Virtual pet) and some based on what the students told me they wanted to make (Create your own world). I put in Scratch Cat Goes Skiing as an example of a vertical scroller for a couple of reasons. One we were meeting in February and two I needed a break from the side-scrolling Flappy Parrot project.

Scratch cat goes skiing projects from virtual code club

I used Google classroom for announcements, meet links, materials and the Game design document, GDD for planning the Showcase project. It worked out well. Most students completed the GDD and I was able to find Code Club projects or Scratch cards to support their ideas. A couple of the girls didn’t have an idea for their Showcase project so I showed them (at school) what I projects I had available and they choose the virtual pet and space junk type projects to work on.

They worked on their projects for four weeks. I was able to help debug during our meetings. The students were pretty comfortable with sharing their screen so I could see their code and what was going on. There were a few tricky bits of debugging that I got caught up in each week. If we couldn’t solve it together during the meeting, I would work on the problem and post the fix (if I found it) in Google classroom. I let a couple students work on their projects in the lab during a rainy recess. This just reminded me how much better coding together in person really is. I hope we can get back to it again.

For the virtual Showcase, students took turns introducing their project and giving hints or background on how to play and why they made it. It was very informal, no parents, just all the club members. Then we would play their game. I encouraged students to “heart” like the project and leave a positive encouraging comment like a cool, or I like your music, Sprite, theme, etc. In school I ask them to provide more detailed, helpful feedback, but this wasn’t school but a club, so friendly feedback was all that was expected. Everyone did great. Everyone was positive and encouraging.

Showcase of projects from Virtual Code Club 2021

When we finished sharing and enjoying each others showcase projects, I share a studio I had put together a my pick for the Best of Code Club Showcase projects. During the prep for our showcase, I had gone back and picked a favorite project from each of the previous Showcase of Scratch projects and maybe one or two more that I find super fun.

Best of Code Club Showcase projects

It was a delightful way to spend our last virtual hour together.

Snack Discussion

I’ve started my eleventh 4th-grade after school Code Club session. We’ve met three times and things are going well, but I’ve neglected to blog.  I’m using the same club format and the same projects I’ve blogged about before, so there was really not much to write about.  After this week’s session, though, I found I have something to share.

Screen Shot 2019-03-16 at 9.24.16 AM

Week 2 project: Maze game by a 4th-grade code club member

Code Club starts right after school – literally, the last bell rings and the students walk from their classroom to the computer lab. We start by circling up the chairs and having a meeting time where I take attendance, talk about what project we are going to do, and have a snack. (Snacks are provided by members who volunteer to bring something to share with everyone.)

Since we can’t eat while coding on the computers (school policy and good rule in general), I use this beginning time to talk about computer science, my coding objective for the day, etc.  This group is a very easy-to-manage and attentive group so I have made an effort to start a snack discussion to fill this time. Their thoughts and ideas are helping me craft the club to fit their needs.

IMG_0744

This first day I asked them what their favorite computer/video game was. Their favorite games ranged from themed games like Harry Potter to popular MMO games like battle royale type games.   No real surprise there.

The second week I asked them what types of games or projects they wanted to learn to make. I wrote down their list of ideas.  There weren’t many surprises, but I do have a number of girls who want to make a virtual pet style game, so I’ve added that to the learning projects I will present to them.

This week I asked them what they thought was the hardest part of coding. This was exciting because many of them felt comfortable enough to share their concerns.  I listened and affirmed that all of these were difficult parts.

I have a volunteer, who is a middle school math teacher, and she shared her concern that the hardest part for her was when a student asked for help but only said, “this isn’t working”.  It is true, that it is difficult to figure out what is not working in code at first glance. It would be helpful for the students to explain what they were hoping would happen and what was actually happening in their code.

Some of the other parts they thought difficult were:

  1. finding the code blocks they were looking for.  (I have to remember that they are very new to Scratch.)
  2. using the costume editor. (Another student gave some tips on this – like switching out of vector mode to draw. I thought it was great that they are helping each other.)
  3. coming up with the design of the project they want to make. (I affirmed this was a difficult part. A good design plan makes the rest of the project go smoothly. For some games, the design phase takes 50% of the total time from start to finish.  I also told them that when designing their game, they would fill out a Game Design Document to help them make those design decisions.)
  4. finishing the project/ getting the project to match their expectations. (Wow, these are insightful kids.  Yes, I told them that I and the volunteers would help them manage their project.  First by making sure it was a project that could be done and second, by helping make a plan for them to get it done in time.)

The snack discussion has become a favorite part of Code Club for me.  I hope I can come up with more good prompts.  Maybe I’ll ask about getting unstuck next.

I am also enjoying teaching them to code and playing some of their creative projects, too.  Here are a few screenshots.

Screen Shot 2019-03-16 at 9.23.56 AM

Week 3 project: Quiz-type Chatbot by 4th-grade Code Club Member

Workshop Reflections

I’ve been reflecting on my #ScratchMIT2018 conference Saturday workshop.  I had a lot of information and student work to share and I did that. It was a nice size group of educators from around the world. The people who attended were great and some were definitely excited about it.

I spent more time talking about my design review process than I expected. When we finally broke into groups, people seemed engaged when they were looking at my students’ work and thinking about how to support them.

This was my first time presenting a workshop at such a big conference and I learned a lot. One thing I could improve is my facilitation of the discussion. I need to prepare better follow-up questions and do less talking.

I made four different packets of student work to share. Different groups looked at different packets which I thought would facilitate more varied conversations but I was the only one who knew all the work and that hindered the whole group discussion.  I should have at least brought up the finished project under discussion on the screen so that the rest of the group could have a frame of reference.

One project that we discussed was Penguin Trivia. It was noted that its design document matches the executed project well.

Screen Shot 2018-01-07 at 5.08.50 PM

I could have followed up with what “supports would you put in place for this student?” Since her communication and time management skills seem strong, she could have used more support on game flow code examples and more time testing and debugging. (Although this is always true)

Another example project that was brought up was Thee Annoying’s Return. In this example, we thought the student could improve how he communicated his project.Screen Shot 2018-07-30 at 5.41.08 PM

Someone noted that he says there are no rules, but clearly, there are. So what clarifying questions should we ask during design review so we know he has thought carefully about his game?

The design document serves as a way for students to think deeply about their project before embarking on its creation. The thing with creative adventures is that plans change. That’s okay. The design document is a guide. There were some helpful suggestions about how to refer the student back to the guide during the creating process as a self-check-in. Older students may be able to reflect on their progress and assess the status of their project themselves.

Some other great ideas came up during the discussion.  One was having a peer review in the middle of the process as a way for students to support students.

Another idea was to have a checklist of things that should be in the project.  I’m not sure if this would be a general or project specific checklist, but it would aid in assessment, either way.

One problem we weren’t able to solve was having the time to meet with each student/group when the numbers are large or the time is short. I generally rally some additional help on Design Review Day so I know everyone’s project gets at least a quick approval so they can get started. I do check in with students each week to see where they are, where they are going, where they are stuck, etc.  There are a lot of pieces to project management, but the benefits of letting students pursue these passion projects are huge.

Overall, I am happy with how it went and I’d enjoy running it again.

Project Management Workshop Design Document

Project Management from Design to Showcase

This is the title of my Scratch @ MIT 2018 Conference workshop coming up this Saturday. I’m excited and honored to be given the opportunity to share some of my experience working with students to create the original Scratch projects, some of which I have written about in this blog.

Session description:

Managing a class (or club) of students working on individual Scratch projects is complicated.  They have big, creative ideas for their projects. They want multiple levels, gravity, complicated animation, and character interactions in their very first programmed game. We, on the other hand, need these projects done on schedule, for the parent showcase or before grades close. This is project management. How can we, as educators, honor student creativity and voice while dealing with the practical realities of limited time and guidance?

In this session, we will look at elementary student game design documents and find ways to support the conversion of these documents into a working, Scratch-coded final product. Participants will work in pairs or small groups with actual game design documents from my 4th grade Code Club members.  They will discuss and interpret what the student envisions and develop a plan to help the student be successful. A formal plan will help gauge if the student is on target to finish on time.

We will discuss issues that come up during different stages of the process such as helping students communicate their ideas about their project, and think programmatically. We will discuss different ways to code animation, how to find resources, and dealing with student expectations. We will talk about facilitating students working in pairs, time management, and debugging.

(This is my original wording and may differ from the conference program)

Title: Project Management from Design to Showcase
Date: Saturday, July 28
Time: 11:00a – 12:00p
Room:  E15-207 (Wiesner Room)

When I finished writing the description last winter, I was in high spirits because it sounded like a workshop I would want to attend.  I’m hoping to facilitate interesting discussions centered around supporting students and their creativity.

Screen Shot 2018-07-24 at 9.53.06 PM.png

I’ve gathered the student design documents I want to share and am putting the final touches on my presentation.  I’ll share everything here in a post before the workshop on Saturday.  For now, here is the current version of the design document I use with my 4th-grade Code Club students.

Coding Their Own Way

The students have begun their independent projects for our showcase in May.  They are really into their projects already.  At our last meeting, I met with (most of) the teams or individuals to go over their Game Design Document (GDD).  Over time I’ve been adding things to the GDD to make it more comprehensive but it has gotten a bit unwieldy.  Students don’t always fill it all out or their ideas don’t fit in with the description. I definitely need to reflect on the GDD and figure out what should remain and what can go.

Let’s go back to basics.  Why do I have the GDD?  Is it for the students or for me?

To make a project that takes multiple weeks to complete, but has a hard deadline, you’ll need a plan.  Planning is part of the engineering design process. In this sense, the GDD is for the students.

If you are working in a team, the need for a plan is crucial.  Who will create the backdrops? Who will code the Sprites? Do we agree on the gameplay? A team definitely needs a GDD to define roles, divide the labor, and to communicate ideas.

How do you know if it is a project that can be done in 4 weeks? What parts of the game are you not sure how to code? What should you work on first?  These questions are why the GDD is for me.  I see myself as the project manager for these 10-year-olds.  I want to ensure a project isn’t too large: “There will be 5 levels and a boss level with an army attack and when you die you turn into a zombie with a special power and then….” Yikes. I want to see that team members have communicated their ideas and agreed on the design. I want to make sure each team member has a job to do.  I want to know what parts of the coding will be tricky for them so I can find some examples of code to help them.

All of the projects this time seem pretty well thought out. There are no “try not to laugh” projects.  No Makey-Makey projects either, sadly.  There are a couple of maze games, two games with gravity, one animation, one karate game, and some adventure games.

One or two of the projects aren’t very complicated and I worry that they’ll finish too early.  I shouldn’t, though.  It will be good to have a couple of more polished, well-tested games for the showcase.

Screen Shot 2017-04-23 at 5.12.45 PM

This student is going to use this as her independent project and make a “Flappy Bird” type game.

I can’t end without sharing a few screenshots of student work.  The previous week I showed the students how to use the Tips tab to get step-by-step instructions on different games.  I suggested they try the “Make It Fly” tutorial.  This was an optional project and many chose that time to work on their GDD instead.

Screen Shot 2017-04-23 at 5.13.22 PM

This shows interesting graphic editing skills and some good coding.

Screen Shot 2017-04-23 at 5.14.47 PM

Makes you smile.

Engineering Design Process

This week I will become the “project manager” for some 30 Scratch projects between my two Code Clubs.  It is Design Review week and the students will meet with me to go over their Game/Project Design Document before beginning to code their own projects to share at our Showcase for parents at the end of the term.

Last time we met I handed out the GDD (Game Design Document) for them to work on and complete before I meet with them for the design review process this week.

I’ve updated the GDD again.  (It is a work in progress).  This time I’ve added the EiE diagram of the Engineering Design Process to the front page and used language to support this process idea within. We use EiE curriculum in school, in our Hypertherm Hope grant supported after school clubs and summer Title I engineering camps. Many students have seen this before.

eie_edp

In the “Ask” phase I explained that they would have an opportunity to make their own Scratch project and opened it up for their many questions.  We also spent some time looking at past 5 Code Club Showcase projects to see what others have done. (I really hope the llamas don’t get remixed again this time around.  They are hilarious the first time you watch, but… well, even the students were tired of them by the end)

screen-shot-2015-03-30-at-11-10-11-pm

I also gave them some time to “Imagine” and sent the “Plan” GDD home with them.  Some were quick to come up with their ideas and completed the GDD before Code Club ended.  There will be some time this week while I meet with the groups to work on their “Plan”.

Once the “Plan” is approved it is time to “Create” then test and “Improve”.

screen-shot-2016-11-29-at-6-08-03-pm

Also new to the GDD is the Team Member Jobs plan. – I am letting them pick a partner of their choice (this is a club, not school) but I’ve found it is often ambiguous who will work on what part.  I’m hoping this part of the GDD will help me help them get work done.

Cute story:  One of my high school volunteers came to me, concerned, with a question about the “working with a partner” option.  A code club member had asked him, the high schooler, to be his partner. So I had to specify to the nine year old, “You can work together with any other code club member, but the high school volunteers will be helping everyone and can’t be your partner.”

Game Design Challenge Accepted

Last week in Code Club students began the design phase of their individual Scratch project. I planned the session to go the same as Key Steps in Game Design did: guest speaker, game design document, short Scratch project. Things didn’t go quite the way I planned…

Guest Speaker: We had the same parent volunteer come and give the same talk about planning & time management. I was worried the ones who had heard it before wouldn’t pay attention, but each returning Code Club member has experienced the pain of running out of time and dealing with unfinished, buggy projects. So they listened.

Screen Shot 2015-03-02 at 10.05.46 PM

Screen Shot 2015-03-02 at 10.07.03 PM

Game Design Document:  GDD Spring2015 This is the document where the students write out the plans and goals for their project, draw out their ideas for Sprites & Stages, define game flow & control elements, and set a schedule for achieving their goal.

gameplay

Game goals defined in the GDD

technical

Example of the Sprite and Stage design from the GDD of a new coder

Scratch Project: When I had finished going over the GDD, instead of wanting to work on a Code Club project, they all started to work on their game design and got down to planning. No one was interested in a project handout.  They had their own project to think about and that could not wait.  I was most impressed.

It is helpful, for me and the coders, to have been through this process once before. What made the difference, I think, from last time, is that this time I had examples of how a GDD turns into a completed project. I showed them a couple of different GDDs from the Fall -actual student work-  and then brought up the game it turned into from our Showcase#1 -more actual student work.

One student finished the GDD, with a bit of help from me, and had time to start working on the Sprites. Already!

Screen Shot 2015-03-02 at 10.31.13 PM

Sprite designs for new project

Two separate groups of three asked if they could work together.  My rule is these are individual or pair projects.  I turned one group down because I know them and one student would be doing all the work while the other two would have all the ideas. I have given a qualified ‘okay’ to the other trio on the condition that the jobs of each member are specified in the game document and divided evenly. I know them as well, and they might be able to manage. It is always interesting to watch team dynamics with students.  Another duo started out together but by the end of the hour had already decided to work independently.  Best to figure that out in the beginning.

By the end of Code Club I had a few finished GDDs ready for the design review this week. Some look pretty interesting and of reasonable scope. I’m not as nervous about their projects as last time.  The students have had less time to plan, but I’ve seen some of the planning they’ve done and I know what they are capable of.  I can’t wait to see what they’ve come up with!

Key Steps in Game Design

For the next four weeks of Code Club the students are going to make their own game in Scratch. This is the reason they joined.  This is what they’ve been telling me they want to do. I could just let them go at it but I want to help them be successful so I’m making them follow some guidelines.  In fact, I’m having them create a detailed plan, put their ideas down in a GDD (Game Design Document), and pitch it to me or another adult volunteer before they start coding.

Last time we met I handed out this Scratch_ Game Design Document – Google Docs  GDD template. I created it after looking at a number of sources from the video game industry and from some online teaching projects. It’s a revised, more detailed version of one I used last year with my 4th grade math group when they made Scratch Math Games.  Code Club members have the choice of working with a partner or by themselves.  The game planning was their homework. It is due tomorrow.

I also sent home Code Club World’s Create Your Own Game Project idea packet for some basic directions.

The last time Code Club met, we had a special guest speaker. She is a parent volunteer who manages a team of software developers and she came and gave a nice presentation on key software development steps: Planning, Testing and Time Management. For a fairly dry topic, the students were respectful and attentive, which I greatly appreciated.

Software design steps outlined

Software design steps outlined

Here are some of the great points she touched on:

  • Make a plan – think about the steps it takes and how long to do each step
  • What if I want to add a really cool thing that was not in the plan? Make your plan flexible
  • Sometimes you have to move on even if something is not perfect
  • Test and test again – test often, get other people to test

These are real world ideas from, well, the real world.  They seemed to take the presentation seriously and I hope that means they’ll do a good job on their pitch tomorrow. I’m excited to see what they’ve come up with and a little nervous, too.